How to set up WooCommerce plugin
Download PluginIntroduction
QorePay's standard payment flow empowers merchants to utilize a hosted and secure payments page. Merchants can seamlessly guide their customers to initiate and complete payments through this purpose-built interface.
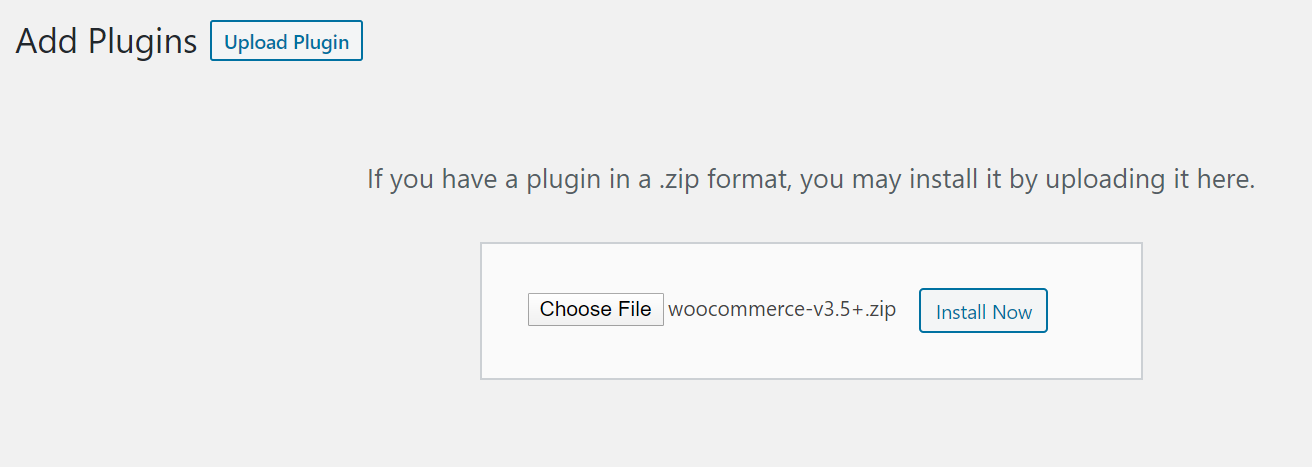
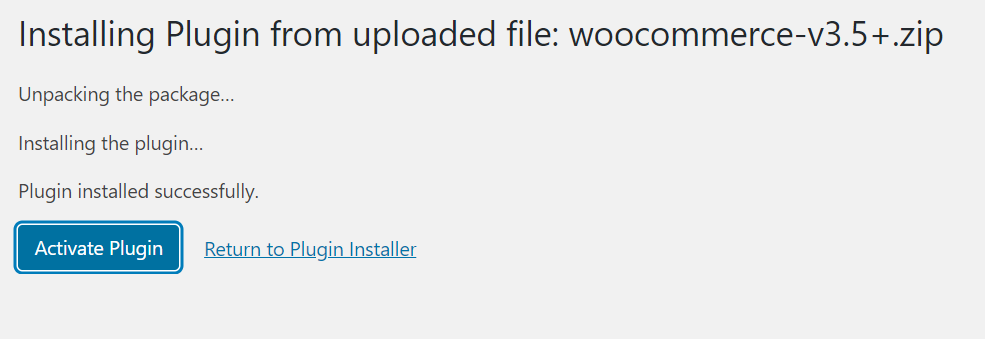
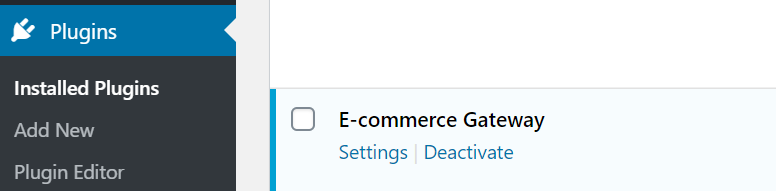
Important: If you are not able to install the plugin in this way, please follow WordPress instructions for manual plugin installation
Additional Information
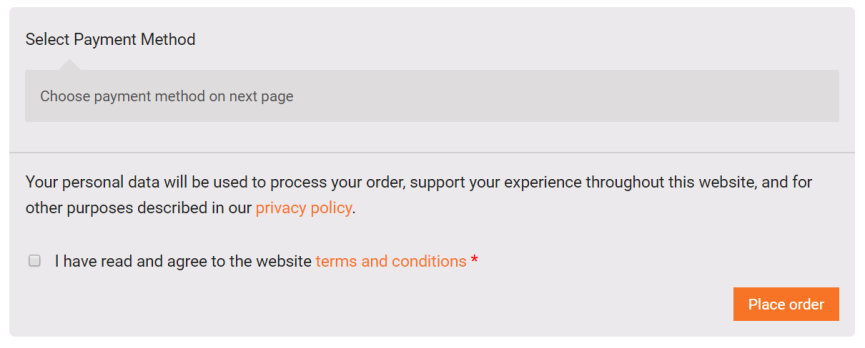
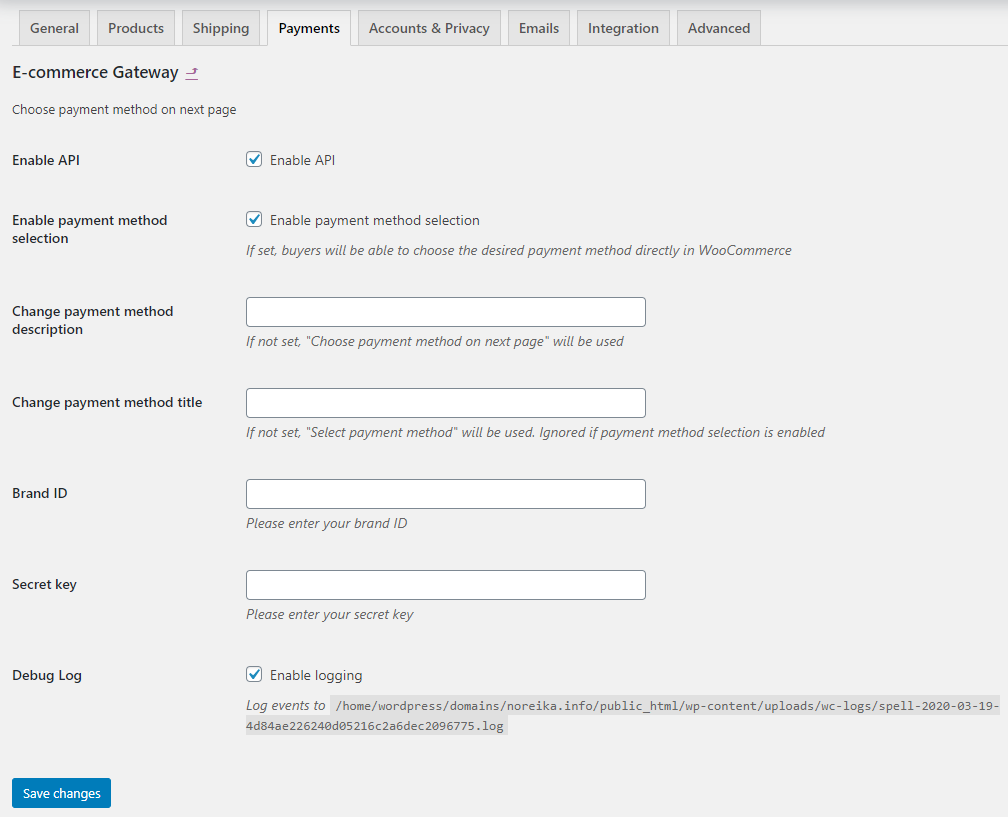
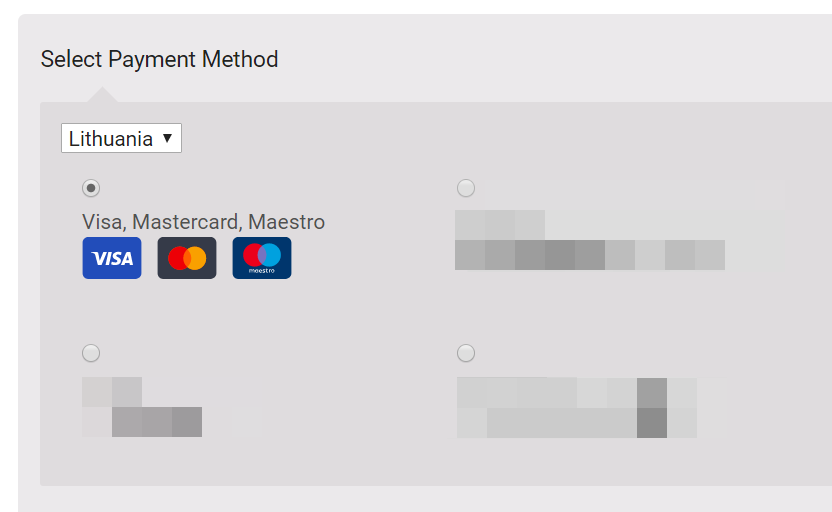
efe If “Enable payment method selection” is set at plugin settings, buyer at checkout process will be able to select payment method directly in e-shop. If you want to change text “Select Payment Method”, enter preferred text in field “Change payment method title” at plugin settings:
efe If “Enable payment method selection” is NOT set at plugin settings, buyer will be able to select payment method after redirect from e-shop to Qorepay E-Commerce Gateway page. If you want to change text “Choose payment method on next page”, enter preferred text in field “Change payment method description” at plugin settings: